In the world of e-commerce, creating a sense of urgency can be a game-changer for driving sales. One effective strategy to achieve this is by using a sales countdown timer on your product pages. A countdown timer not only encourages customers to make a purchase but also enhances the overall shopping experience by creating excitement and anticipation. In this blog, we’ll explore how to set up a sales countdown timer on your product pages and the best practices to maximize its impact.
Table of Contents
ToggleWhy Use a Sales Countdown Timer?
1. Creates Urgency
Countdown timers leverage the psychological principle of scarcity. When customers see a limited-time offer, they are more likely to make a purchase to avoid missing out.
2. Increases Conversion Rates
Studies have shown that countdown timers can significantly boost conversion rates. Customers are motivated to act quickly when they know a deal is about to expire.
3. Enhances User Experience
A countdown timer can enhance the user experience by adding an element of excitement to the shopping process. It keeps users engaged and encourages them to explore your offerings further.
How to Set Up a Sales Countdown Timer
1: Choose the Right Timer Tool
There are various tools and plugins available for setting up countdown timers on your website. Depending on your e-commerce platform, consider the following options:
- Shopify: Apps like Countdown Timer Bar or Hurrify can be integrated seamlessly.
- WooCommerce: Use plugins like WooCommerce Countdown Sales or Countdown Timer for WooCommerce.
- Custom Solutions: For those with coding experience, you can create a custom countdown timer using JavaScript.
2: Decide on the Timer Type
Determine what type of countdown timer you want to use. Some common options include:
- Fixed-Time Offers: A countdown for a specific promotional period (e.g., 24-hour flash sales).
- Product-Specific Timers: Individual timers for each product or category.
- Cart Abandonment Timers: Timers that activate when a user adds an item to their cart but doesn’t complete the purchase.
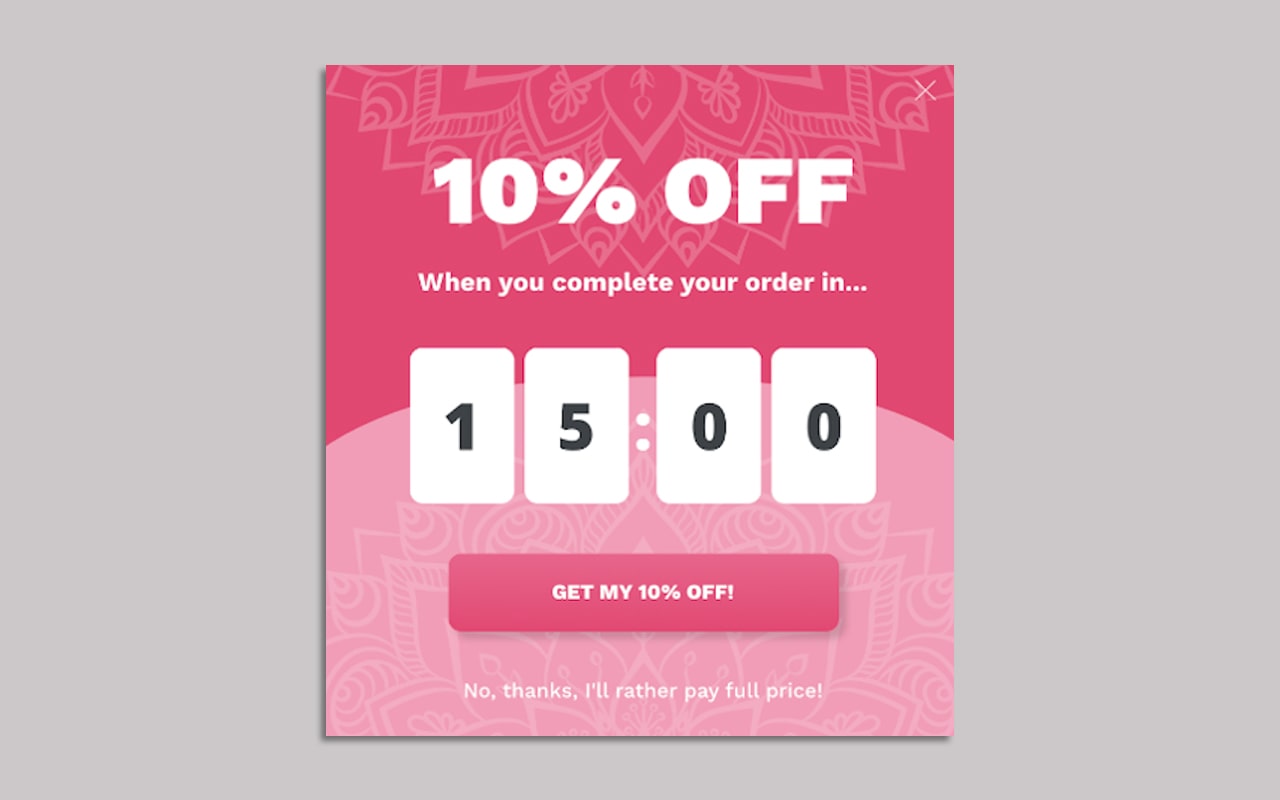
3: Create an Attractive Timer Design
The design of your countdown timer is crucial for grabbing attention. Consider the following design elements:
- Color: Use contrasting colors to make the timer stand out against the product page background.
- Font: Choose clear, readable fonts that convey urgency (e.g., bold and modern).
- Size: Ensure the timer is prominent but not overpowering; it should complement the overall page design.
4: Set the Timer Duration
Determine the duration of your countdown. Common timeframes include:
- 24 hours: Ideal for flash sales.
- 3-7 days: Suitable for limited-time promotions or special events.
- Custom durations: Tailor the timer based on your marketing strategy.
5: Add the Countdown Timer to Your Product Pages
Once you have chosen a tool and designed your timer, it’s time to integrate it into your product pages. Most plugins and tools will provide you with a simple installation guide. You typically need to:
- Access your website’s backend.
- Navigate to the specific product page where you want the timer.
- Paste the countdown timer code or use the provided settings to display it on the page.
6: Test the Timer Functionality
Before launching your countdown timer, thoroughly test its functionality. Ensure that:
- The timer counts down correctly.
- It displays accurately across different devices and screen sizes.
- Any associated actions (like discount applications) work seamlessly.
7: Promote Your Countdown Offer
To maximize the effectiveness of your sales countdown timer, promote your offer through various channels:
- Email Marketing: Send out a newsletter highlighting the countdown timer and the exclusive offer.
- Social Media: Share posts about the countdown, encouraging followers to act quickly.
- Website Banners: Use banners on your homepage to draw attention to the limited-time offer.
Best Practices for Using Countdown Timers
1. Keep It Relevant
Ensure that the countdown timer is relevant to the products or offers on your site. Irrelevant or misleading timers can lead to customer frustration and erode trust in your brand.
2. Be Transparent
Clearly communicate the terms of the offer. If the countdown timer indicates a sale, specify what products are included and any conditions that apply.
3. Use Timers Sparingly
While countdown timers can be effective, overusing them may lead to diminishing returns. Use them strategically for major sales events or product launches rather than continuously on every product page.
4. Monitor Performance
After implementing your countdown timer, track its performance through analytics tools. Monitor metrics such as conversion rates, click-through rates, and overall sales to assess its impact.
5. A/B Test Different Strategies
Experiment with different timer styles, durations, and placements to determine what works best for your audience. A/B testing can provide valuable insights into optimizing your countdown timer for maximum effectiveness.
Conclusion
Setting up a sales countdown timer on your product pages can significantly enhance your marketing strategy by creating urgency and encouraging customers to make purchases. By choosing the right tools, designing an attractive timer, and promoting your offers effectively, you can drive higher sales and improve the overall shopping experience for your customers. Embrace the power of countdown timers and watch your e-commerce sales soar!
No responses yet