In the competitive landscape of e-commerce, providing customers with the tools they need to make informed purchasing decisions is crucial. One effective way to enhance the shopping experience is by implementing a product comparison feature on your shop website. This allows customers to evaluate multiple products side by side, making it easier for them to identify which item best suits their needs. Here’s a step-by-step guide on how to set up a product comparison feature on your shop website.
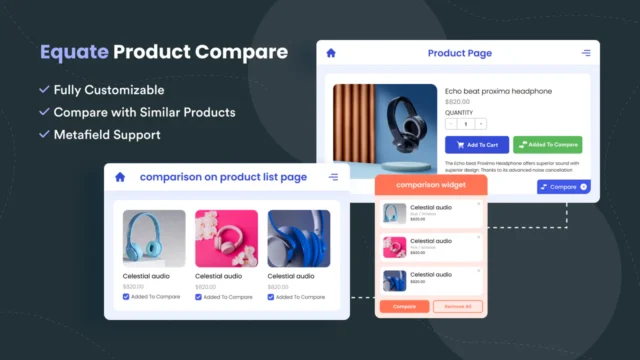
Table of Contents
Toggle1. Identify Your Goals and Audience
Before diving into the technical aspects, it’s important to clarify your objectives and understand your target audience:
- Objectives: Determine what you want to achieve with the comparison feature. Are you looking to reduce decision fatigue, increase conversions, or highlight key product differences?
- Target Audience: Consider who will be using this feature. Understanding their preferences and needs will help you design a comparison tool that resonates with them.
2. Choose the Right Comparison Tool
Several plugins and tools can help you implement a product comparison feature on your shop website, depending on your platform:
- For WordPress/WooCommerce: Consider plugins like WooCommerce Product Comparison, YITH WooCommerce Compare, or WP Comparisons. These plugins allow users to compare product attributes easily.
- For Shopify: Use apps like Compare Products or Product Compare that integrate seamlessly with your Shopify store.
- Custom Solutions: If you have a unique website or specific requirements, you might want to hire a developer to create a custom comparison feature.
3. Define Comparison Criteria
To make the comparison feature useful, define the criteria that customers can use to compare products. Common criteria may include:
- Price: Clearly display the price of each product.
- Specifications: Include technical specifications or features relevant to the products (e.g., size, weight, material).
- Ratings and Reviews: Show average ratings and the number of reviews to help customers gauge the popularity and quality of products.
- Images: Provide images of the products for visual comparison.
- Availability: Indicate whether each product is in stock or on backorder.
4. Design an Intuitive User Interface
A user-friendly interface is crucial for the success of your product comparison feature. Consider these design principles:
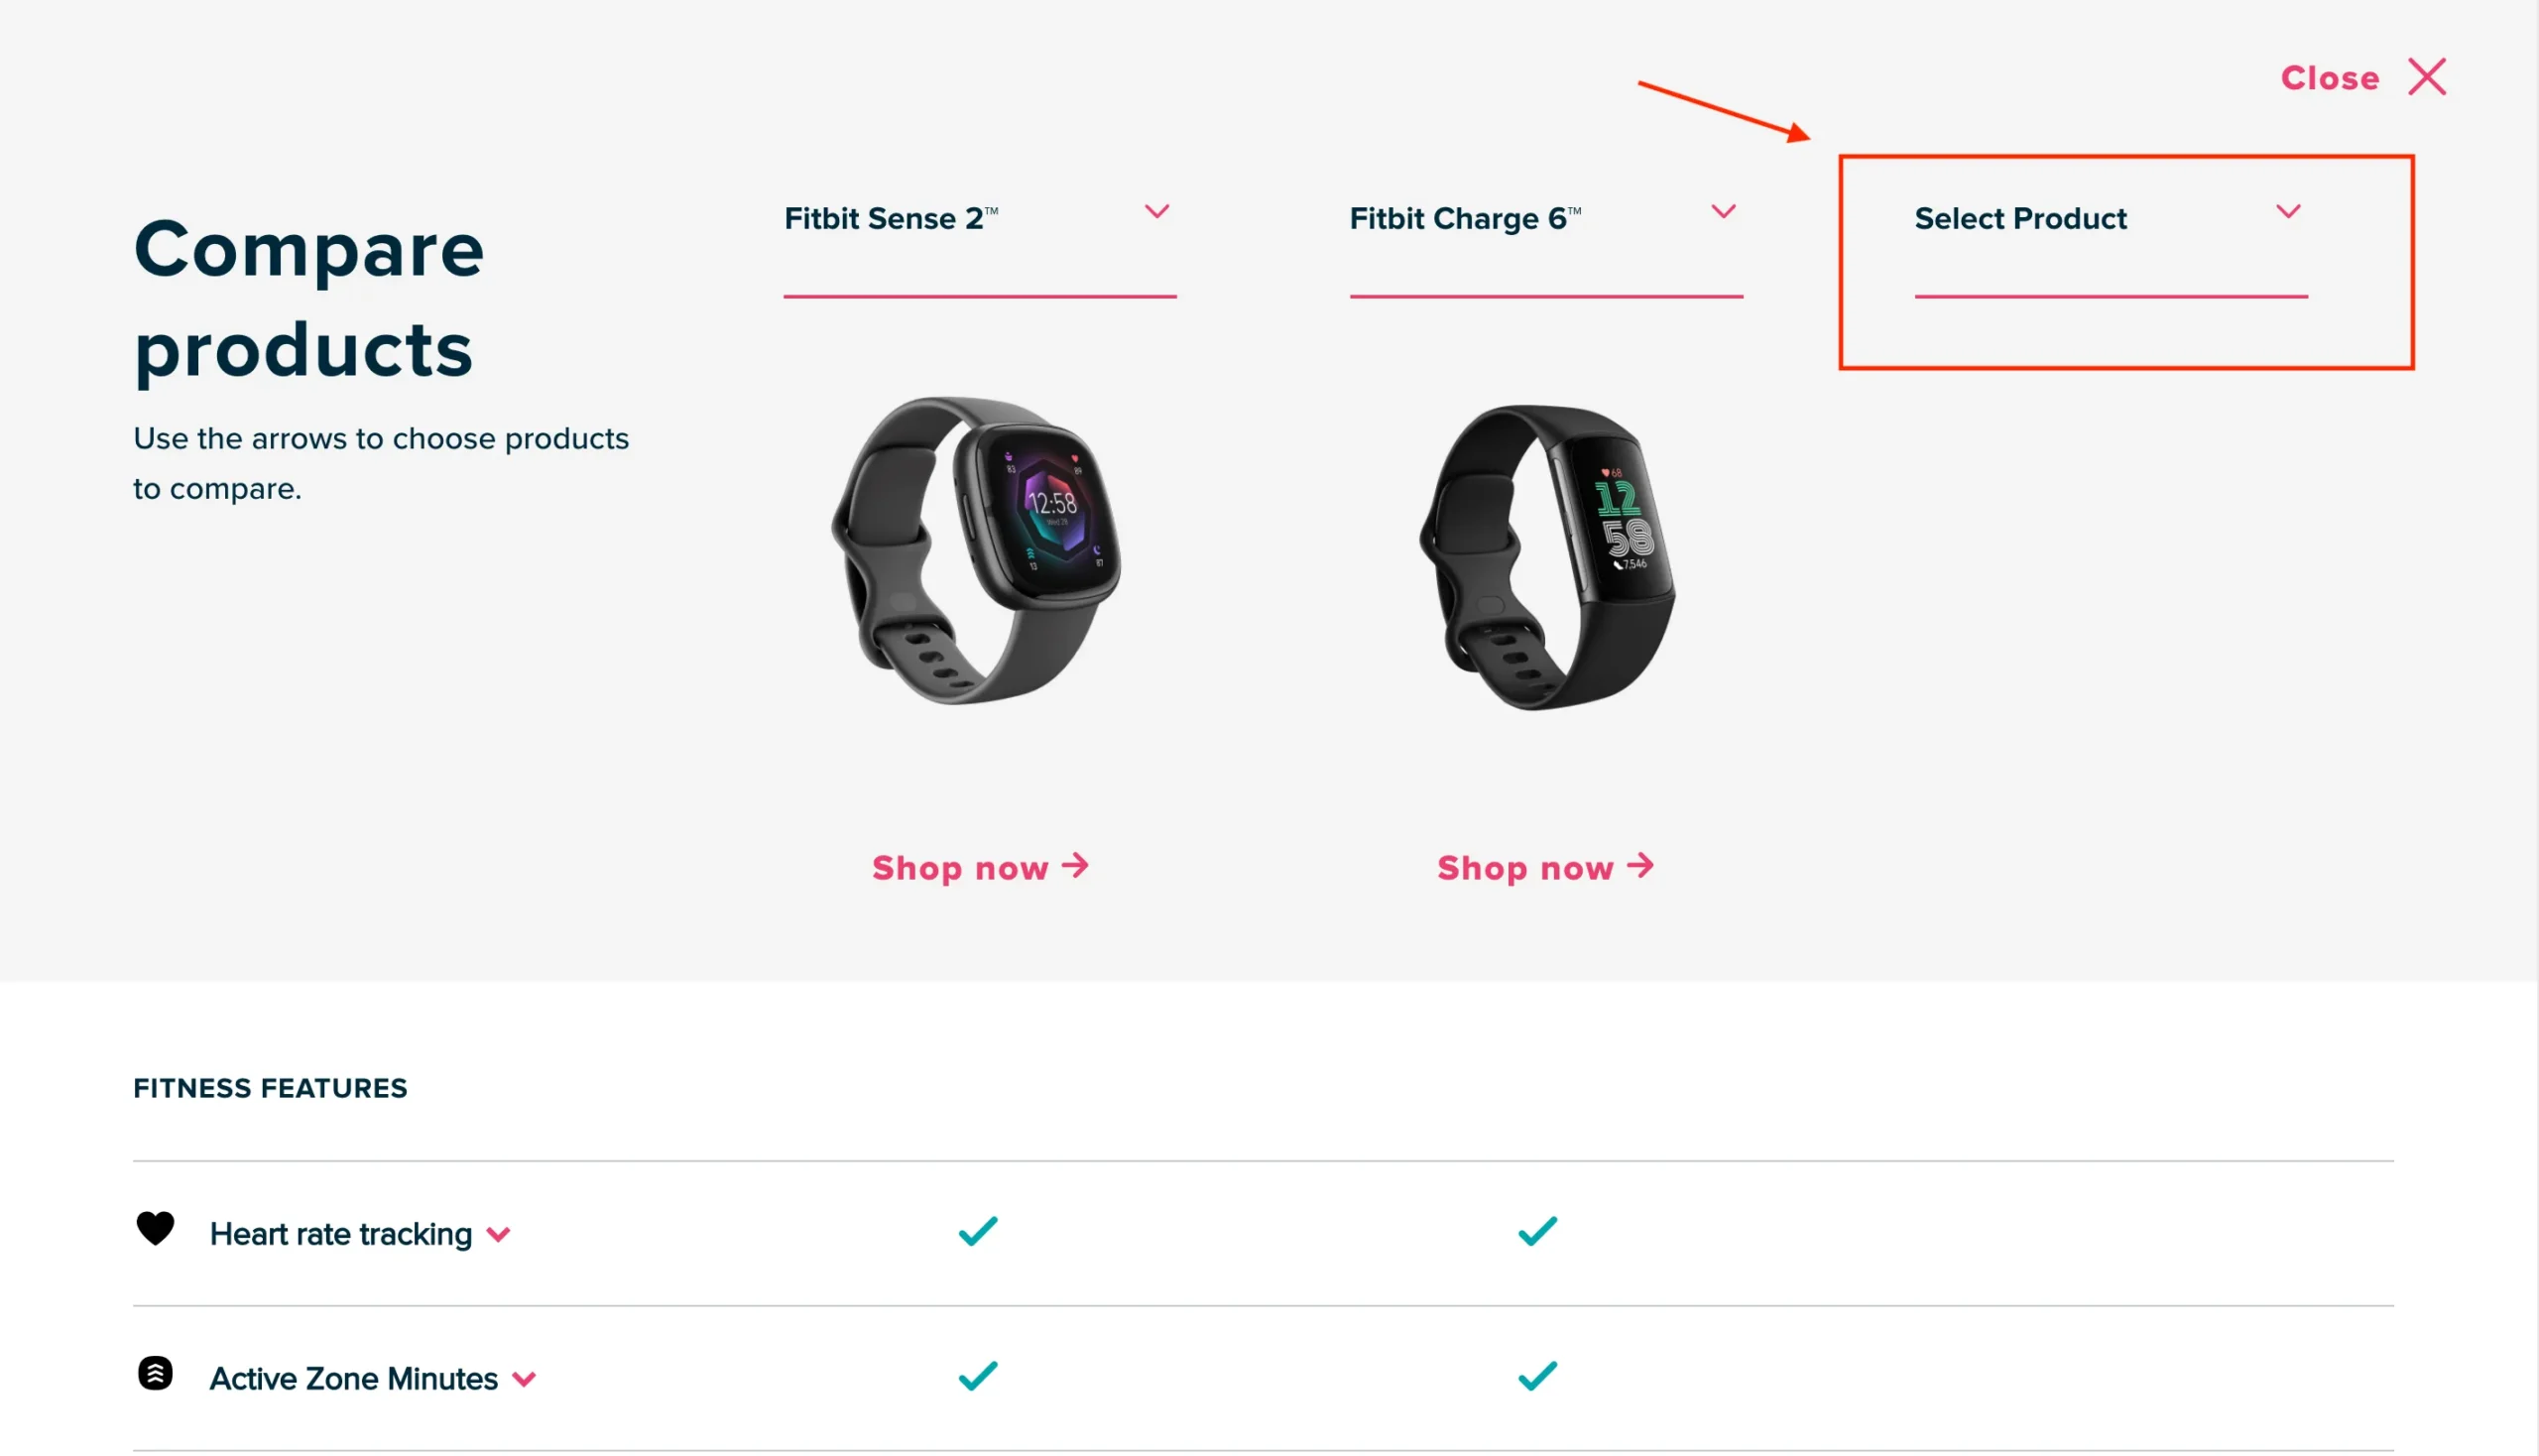
- Easy Selection: Allow users to select multiple products for comparison easily. Use checkboxes or an “Add to Compare” button on each product listing.
- Clear Layout: Present the comparison data in a clear, organized manner. Use a table format where each row represents a different criterion and each column represents a product.
- Responsive Design: Ensure that the comparison feature is mobile-friendly, as many customers will be shopping on their smartphones.
5. Implement the Feature on Your Website
Once you’ve chosen the right tool and defined the criteria, it’s time to implement the feature:
- Install and Configure the Plugin/App: Follow the setup instructions provided by your chosen plugin or app. Configure the settings to match your comparison criteria and design preferences.
- Embed the Comparison Tool: If using a custom solution, ensure the comparison tool is embedded correctly on your product pages and accessible from relevant sections of your site.
6. Test the Feature
Before launching the product comparison feature, conduct thorough testing to ensure it works seamlessly:
- Usability Testing: Have a few users test the feature to provide feedback on its usability and effectiveness. Make adjustments based on their experiences.
- Cross-Browser Testing: Ensure the comparison feature works well across different browsers and devices to provide a consistent experience for all users.
7. Promote the Comparison Feature
Once the feature is live, promote it to ensure customers are aware of its availability:
- Website Announcements: Use banners or notifications on your website to inform visitors about the new comparison feature.
- Social Media Marketing: Share posts on your social media channels highlighting how to use the comparison tool and its benefits.
- Email Marketing: Notify your existing customers through email newsletters, encouraging them to take advantage of the comparison feature.
8. Gather Feedback and Analyze Usage
After launching the comparison feature, collect feedback from users to improve the experience continually:
- User Feedback: Encourage customers to provide feedback on the comparison feature through surveys or feedback forms.
- Analytics Tracking: Use analytics tools to monitor how often the comparison feature is used, which products are compared most frequently, and how it impacts conversion rates.
9. Iterate and Improve
Based on the feedback and data collected, make ongoing improvements to the product comparison feature:
- Enhance Functionality: Consider adding new features, such as comparison graphs or the ability to compare more than three products simultaneously.
- Refine Criteria: Regularly review and refine the comparison criteria based on customer preferences and emerging trends in your product range.
Conclusion
Implementing a product comparison feature on your shop website can significantly enhance the shopping experience, helping customers make informed decisions while boosting your conversion rates. By following these steps—defining your goals, choosing the right tools, designing an intuitive interface, and continuously gathering feedback—you can create an effective comparison feature that resonates with your audience. With this addition, you’ll not only improve customer satisfaction but also differentiate your online store from competitors.
No responses yet