
In today’s fast-paced digital landscape, providing a seamless way for customers to schedule appointments is essential for enhancing user experience and improving business efficiency. An online appointment scheduling system not only saves time but also helps manage client bookings effectively, reducing the likelihood of missed appointments and double bookings. In this blog, we will explore how to set up an appointment scheduling system on your website, ensuring that your customers can easily book their appointments with you.
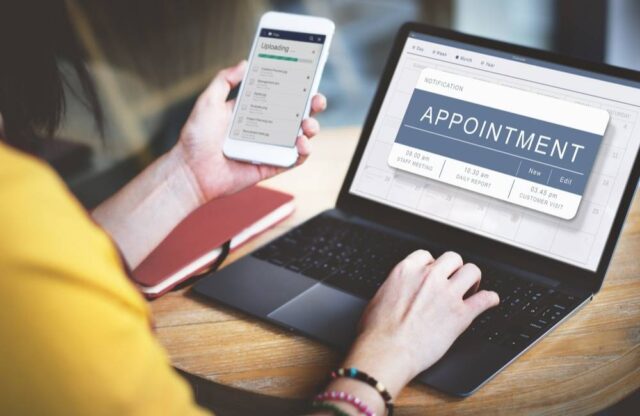
Table of Contents
ToggleWhy an Appointment Scheduling System?
- Improved Customer Experience: Customers appreciate the convenience of scheduling appointments online, which can lead to higher satisfaction and loyalty.
- Time Management: Automated scheduling helps manage your calendar efficiently, freeing up time for other essential tasks.
- Reduced No-Shows: Reminder notifications can decrease the chances of clients forgetting their appointments.
- Data Collection: An online system can help gather customer information, allowing you to tailor services and marketing efforts.
Step-by-Step Guide to Setting Up an Appointment Scheduling System
1: Choose the Right Scheduling Software
The first step in setting up an appointment scheduling system is selecting the right software. Consider the following factors when choosing a scheduling tool:
- Features: Look for features such as calendar integration, automated reminders, payment processing, and customization options.
- User-Friendly Interface: Choose software that is easy for both you and your clients to navigate.
- Mobile Compatibility: Ensure that the system works well on mobile devices, as many users will be booking appointments on their phones.
- Cost: Compare pricing plans to find a solution that fits your budget.
Some popular scheduling tools include:
- Calendly
- Acuity Scheduling
- SimplyBook.me
- Square Appointments
- Doodle
2: Integrate the Scheduling Tool with Your Website
Once you’ve selected a scheduling tool, the next step is to integrate it with your website. Here’s how to do that:
- Sign Up and Set Up Your Account: Create an account with your chosen scheduling software and complete your profile with essential business information, including services offered, availability, and contact details.
- Customize Your Scheduling Page: Customize the appearance of your scheduling page to match your brand, including logos, colors, and fonts. Set your available time slots and appointment types, specifying the duration of each appointment.
- Generate the Embed Code: Most scheduling tools will provide you with an embed code or a link to your scheduling page. This code is what you’ll use to integrate the tool into your website.
- Add the Code to Your Website:
- If you’re using a content management system (CMS) like WordPress, navigate to the page where you want to display the scheduling system, switch to the HTML or code editor, and paste the embed code.
- For website builders like Wix or Squarespace, use the designated HTML or embed block to insert the code.
- If you have a custom-built website, you may need a developer to assist with integrating the code into your site.
3: Test the System
Before launching your scheduling system, conduct thorough testing to ensure everything works correctly. Here are some things to check:
- Functionality: Schedule a test appointment to ensure the booking process works smoothly from the user’s perspective.
- Notifications: Verify that automated confirmation and reminder emails are sent correctly.
- Integration: Check that the system syncs properly with your calendar (Google Calendar, Outlook, etc.) to avoid double bookings.
4: Promote Your Appointment Scheduling System
Once your scheduling system is live and functional, it’s time to promote it:
- Website Visibility: Make the scheduling option easily accessible on your website, such as on the homepage, contact page, or dedicated appointment page.
- Social Media Promotion: Share the scheduling link on your social media profiles to encourage followers to book appointments.
- Email Campaigns: Send an email to your existing customers announcing the new online booking feature, including a direct link to the scheduling page.
- In-Store Signage: If you have a physical location, display signs or flyers encouraging customers to book appointments online.
5: Gather Feedback and Make Improvements
After your scheduling system has been in use for a while, gather feedback from both customers and staff:
- Customer Surveys: Ask customers about their experience with the online scheduling system to identify any pain points or areas for improvement.
- Staff Input: Gather feedback from your team to understand how the system has impacted their workflow and if any changes are needed.
Use this feedback to make necessary adjustments, whether that involves modifying your availability, changing the types of appointments offered, or updating reminders.
Conclusion
Setting up an appointment scheduling system on your website can greatly enhance customer experience and streamline your business operations. By following these steps—choosing the right software, integrating it into your website, testing its functionality, promoting it effectively, and gathering feedback—you can create a seamless booking experience for your clients. Embrace the convenience of online scheduling, and watch as your customer satisfaction and efficiency improve!
No responses yet