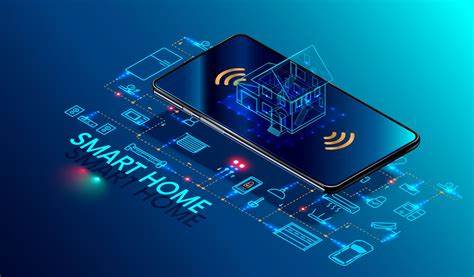
With the growing popularity of the Internet of Things (IoT), creating a smart home control app offers users the ability to manage various devices seamlessly from their smartphones or tablets. Whether controlling lights, thermostats, security cameras, or appliances, a well-designed app can enhance user convenience and security. Here’s a comprehensive guide on how to create a smart home control app for IoT devices.
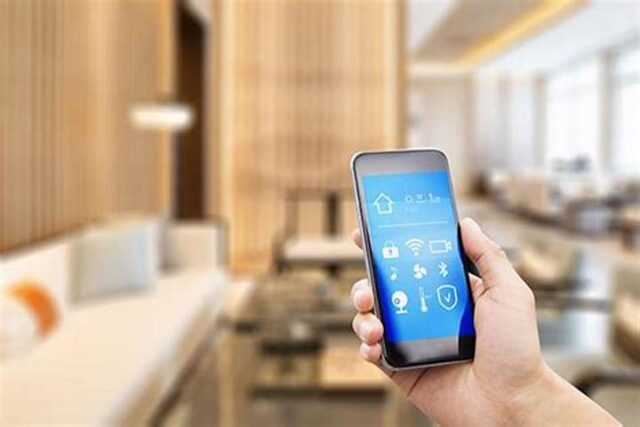
Table of Contents
Toggle1. Define Your Target Audience and Use Cases
Before diving into development, it’s crucial to understand your target audience and the specific use cases your app will address:
- User Demographics: Identify who will use the app (e.g., tech-savvy individuals, families, elderly users) to tailor the design and features accordingly.
- Common Scenarios: Consider the typical interactions users will have with IoT devices. This might include controlling lights remotely, monitoring security systems, or scheduling devices.
2. Choose the Right IoT Platform
Selecting the appropriate IoT platform is fundamental for device management and communication:
- Cloud Platforms: Consider using cloud-based platforms like AWS IoT, Google Cloud IoT, or Microsoft Azure IoT Hub. These platforms offer robust features for device connectivity, data management, and security.
- IoT Frameworks: Explore IoT frameworks like Home Assistant or OpenHAB, which can simplify device integration and management.
3. Select Communication Protocols
IoT devices communicate using various protocols. Choose the ones that best suit your app’s needs:
- Wi-Fi: Common for smart home devices; allows for high-speed data transfer but requires a stable internet connection.
- Bluetooth: Suitable for local device communication; lower power consumption but limited range.
- Zigbee/Z-Wave: Low-power protocols specifically designed for smart home applications, enabling reliable communication between devices.
- MQTT: A lightweight messaging protocol ideal for IoT applications, allowing for efficient data transmission.
4. Design the User Interface (UI)
A user-friendly UI is essential for ensuring a smooth user experience. Consider the following design principles:
- Simplicity: Keep the interface clean and intuitive. Users should be able to navigate easily between devices and settings.
- Customization: Allow users to customize their dashboard, choosing which devices or controls they want to prioritize.
- Visual Feedback: Provide visual cues (e.g., status indicators, notifications) to inform users about the current state of their devices.
5. Implement User Authentication and Security
Given the sensitivity of smart home data, implementing robust security measures is crucial:
- User Authentication: Use secure authentication methods, such as OAuth or two-factor authentication, to protect user accounts.
- Data Encryption: Ensure that data transmitted between the app and devices is encrypted to prevent unauthorized access.
- Access Control: Implement role-based access controls, allowing users to grant or restrict access to specific devices or functionalities.
6. Develop Core Features
Focus on building essential features that enhance the user experience:
- Device Management: Enable users to add, remove, and configure their IoT devices easily. Provide options to group devices for batch control.
- Real-Time Monitoring: Allow users to monitor device status in real-time, receiving alerts for critical updates (e.g., security breaches, system failures).
- Scheduling and Automation: Implement features that allow users to create schedules for devices (e.g., turning lights on/off at specific times) and set automation rules (e.g., activating security cameras when the user leaves home).
- Voice Control Integration: Consider integrating voice assistants like Amazon Alexa or Google Assistant for hands-free control of devices.
7. Implement Backend Services
Develop backend services to support data storage, user authentication, and device communication:
- Database: Choose a reliable database (e.g., Firebase, MongoDB, PostgreSQL) to store user information, device states, and settings.
- API Development: Create RESTful or GraphQL APIs to facilitate communication between the app and the backend server. Ensure APIs are optimized for performance and security.
8. Test Thoroughly
Testing is critical to ensure the app functions as intended and provides a seamless user experience:
- Functional Testing: Verify that all features work correctly, including device control, monitoring, and notifications.
- Usability Testing: Conduct usability tests with real users to gather feedback on the app’s interface and functionality.
- Security Testing: Perform security assessments to identify vulnerabilities and ensure data protection measures are effective.
9. Launch and Gather Feedback
Once the app is thoroughly tested, it’s time to launch:
- App Store Submission: Publish your app on platforms like the Apple App Store and Google Play Store, ensuring compliance with their guidelines.
- User Feedback: After launch, gather user feedback to identify areas for improvement. Use this information to refine the app and add new features based on user needs.
10. Continuously Update and Improve
Post-launch, focus on maintaining and improving the app:
- Regular Updates: Continuously update the app to fix bugs, enhance security, and introduce new features.
- Monitor Performance: Use analytics tools to track user engagement and device performance, helping you make data-driven decisions for future updates.
Conclusion
Creating a smart home control app for IoT devices involves careful planning, design, and execution. By understanding user needs, choosing the right technologies, and focusing on security and usability, you can develop an app that enhances the smart home experience. As IoT technology continues to evolve, staying adaptable and responsive to user feedback will be key to your app’s long-term success.
No responses yet