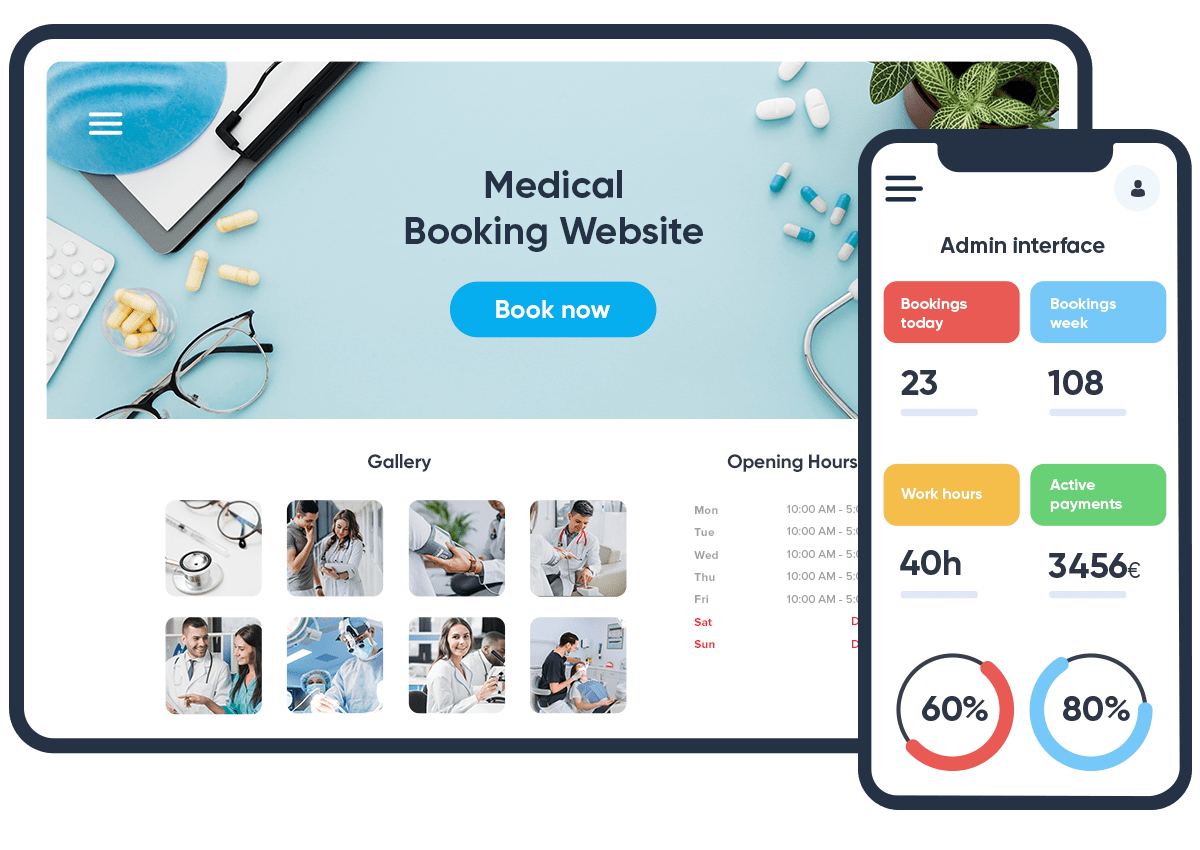
In today’s digital age, convenience is key for both businesses and customers. One effective way to enhance user experience and streamline operations is by integrating an online appointment booking system into your website. This integration not only saves time but also increases customer satisfaction. Here’s a comprehensive guide on how to integrate online appointment booking with your website.

Table of Contents
Toggle1. Identify Your Needs and Goals
Before diving into the integration process, it’s crucial to identify your specific needs and goals. Consider the following questions:
- What type of appointments do you offer? (e.g., consultations, classes, services)
- How many staff members will need access to the booking system?
- What information do you want to collect from customers during the booking process? (e.g., name, email, service selection)
Having a clear understanding of your requirements will help you choose the right online booking solution.
2. Choose the Right Appointment Booking Software
With numerous appointment booking tools available, selecting the one that best fits your business needs is vital. Here are some popular options to consider:
- Calendly: A user-friendly scheduling tool that integrates with Google Calendar, Outlook, and more.
- Acuity Scheduling: Offers customizable booking forms and a variety of features for different industries.
- Square Appointments: Great for service-based businesses, providing payment processing and client management features.
- SimplyBook.me: Highly customizable and supports various integrations, suitable for different types of businesses.
When selecting software, consider factors like pricing, features, ease of use, and customer support.
3. Set Up Your Appointment Booking System
Once you’ve chosen your appointment booking software, it’s time to set it up. Follow these steps:
- Create Your Account: Sign up for an account on your chosen platform.
- Customize Your Settings: Adjust settings to reflect your business needs. This includes setting your business hours, appointment durations, buffer times, and cancellation policies.
- Add Services: Input the different services or appointment types you offer, along with their durations and pricing if applicable.
- Configure Notifications: Set up automated notifications for both customers and staff. This can include booking confirmations, reminders, and follow-up messages.
4. Integrate the Booking System with Your Website
Integration methods can vary depending on the booking software you’ve chosen. Here are common integration options:
- Embed Code: Most appointment booking tools provide an embed code that you can place on your website. Here’s how:
- Copy the embed code from your booking software.
- Go to your website editor (e.g., WordPress, Wix, Squarespace).
- Add a new page or section for appointments.
- Paste the embed code into the HTML or code block.
- Plugins or Add-ons: If you’re using platforms like WordPress, look for specific plugins that can simplify integration. For example:
- Bookly: A popular WordPress plugin for appointment booking.
- Amelia: Another robust plugin that offers extensive features for appointment scheduling.
- Linking: If you prefer not to embed the booking system directly, you can create a dedicated booking page on your booking software and link to it from your website’s navigation menu or buttons.
5. Optimize the Booking Experience
To ensure a seamless booking experience, consider the following tips:
- Mobile Responsiveness: Make sure the booking system is mobile-friendly, as many users will book appointments from their smartphones.
- User-Friendly Design: Ensure the booking interface is intuitive and easy to navigate. Reduce the number of steps required to complete the booking.
- Clear Call-to-Action (CTA): Use prominent CTAs, such as “Book Now” or “Schedule Appointment,” to guide users to the booking section.
- Provide Detailed Information: Offer detailed descriptions of services, pricing, and what customers can expect during their appointments.
6. Promote Your Online Booking Feature
Once your online booking system is integrated, it’s essential to promote it to your audience. Here are some effective strategies:
- Social Media: Share posts about your new online booking feature on platforms like Instagram, Facebook, and Twitter. Include direct links for easy access.
- Email Marketing: Send out an email announcement to your subscribers, highlighting the convenience of booking appointments online.
- Website Banners: Add banners or pop-ups on your website to inform visitors about the new booking feature.
7. Monitor and Adjust
After launching your online appointment booking system, it’s crucial to monitor its performance and gather feedback:
- Track Metrics: Use analytics tools to monitor booking rates, cancellations, and customer feedback.
- Solicit Customer Feedback: Encourage customers to provide feedback about their booking experience. Use this information to identify areas for improvement.
- Adjust Settings as Needed: Be prepared to make adjustments to your booking system based on user behavior and feedback. This might include changing appointment durations, adjusting business hours, or updating services offered.
Conclusion
Integrating an online appointment booking system into your website can significantly enhance customer experience and streamline your business operations. By carefully selecting the right software, customizing your booking process, and promoting this feature effectively, you can provide your clients with the convenience they seek while maximizing your operational efficiency. With a focus on user experience and ongoing adjustments based on feedback, your online booking system can become a valuable asset to your business.


No responses yet